This time is the 10th dungeon.

The gimmick for the dungeon is more or less like the original it is based off.
Each floor starts out very hard. You take an icicle thing (you get one and it can be used infinitely) and shoot the hot tower things, which causes that floor to cool down. Doing so changes the enemies that appear and freezes the bodies of waters, changing the overall structure of the floor.
There are actually four floors in this dungeon, despite this being a reused dungeon. That is because there are actually two bosses in this dungeon, and unlike the 2nd dungeon, it isn't a back-to-back thing. So you technically can consider one a mid-boss.
But first the FOEs.
First up is the armored turtle.
Although I believe that he moved slowly in the previous games, he actually moves at a normal speed in this one. His "map gimmick" is that when you first see him (and the floor is hot), he can't get to you because of the water (apparently armored turtles can't swim).
But once you freeze the floor, he will slide along the ice to get to you. It seems kinda weird, but if you are in his path while you and he slides down the ice, he will enter battle with you.
Like, it isn't "You slide -> He slides". It's more of a "Both slide at the same time" type.
Oh, and after he slides across the ice, he becomes temporarily immobile.
In battle... Well, if you have the right class, he is extremely easy. And if you don't... He isn't.
The thing is that his most dangerous move, Shell Cutter, hits multiple times for big damage and can also hit the same person twice. But he only uses this move after he buffs himself with Oil Spin. If you read his dictionary description, it actually hints this.
So if you use a debuff that cancels out Oil Spin, he will never use Shell Cutter.
He also has another attack skill that he uses when his HP drops low enough, but that isn't anything you can't survive.
And thankfully, the Swordsman/Land has a Shield Skill that lowers the enemy's evasion. So by constantly making sure the FOE is debuffed, every time he tries to Oil Spin, it gets canceled out.

The other FOE in this dungeon is the floating eyeball.
I'm pretty sure he was in a snowy area in the previous games, but you actually do the same thing in this game. You push blocks of ice into him and take him out. And he just moves in a set path.
In battle...
I don't know, he is fairly balanced, doing status ailments, fire damage, physical damage. But because of that, nothing really stands out. So I don't really have that much of a memory of him.
Nothing to particularly beware off and you should win if your level is high enough and you don't let your guard down.

As for the bosses...
The first one is Salamander.
He himself doesn't really stand out as too strong. This is most likely because he is pretty much a mid-boss and also because he has a gimmick of summoning Baby Salamanders.
If you let the Baby Salamanders live, their weak yet annoying attacks along with Salamander's will be very dangerous. Especially since the Baby Salamanders will try to Head Bind + Lower your elemental defenses.
So here is the thing. While his HP is still high, he only summons one or two Babies. But as his HP goes lower, he summons more and more at a time.
So while he only summons small numbers, take out those Babies and then focus on him. And when this gets harder to do as he summons a whole bunch, focus on going all out and taking him down.
This is surprisingly easy to do because he has this "Embracing Love" skill that causes him to take the damage dealt to the Babies for two turns.
Yup. When his HP is low enough for him to summon 4 Babies, that means that using an area attack like the Ronin's Force Break will literally hit him 5 times.
So yeah.
And once you kill him, the battle ends regardless of any remaining Babies.
Wasn't too hard.

The second boss of the dungeon is as anyone may have expected. Apparently he is called "Boiling Lizard" in the localized version, which is very lame.
Just like before, you have to cool down the floor before you fight him. By cooling down the floor, he is weakened and he loses half of his health. Of course, half of his health is actually fitting for your current level and his full health is beyond your reach at this time.
BTW, the NPC that travels with you will warn you to cool down the dungeon.
Except she does this when you enter the boss room and there is no turning back. Thanks?
While I did die once, I don't really think this is a hard boss. The reason is that he is very predictable.
He has that gimmick where he shoots out scales, which will Chase his fire attacks. But he always uses his Area-damaging Fire attack after shooting out new scales, meaning if you have a Zodiac, you can completely waste his next turn. Of course, if you cool down the scales, then that is fine too as his attack will not kill you in one hit.
However, he does have
- An attack that hits the front row and causes sleep
- An attack that hits randomly and causes blindness (only hits one character max one time)
which may cause an accident, so you still cannot fall asleep on him.
However, the true "gimmick" you have to beware of is that half-way, he buffs himself with this fire wall that will have him counter against your close-ranged attacks. The damage is hardly painful itself, but the counter buff lasts a whopping 5 turns.
Of course, you can't just dilly-dally 5 turns... And this is why I died the first time. I learned from this and brought Laudanum with me the second time to get rid of this Counter. Much easier.
He actually also does a regeneration buff later on and Laudanum will also help here.

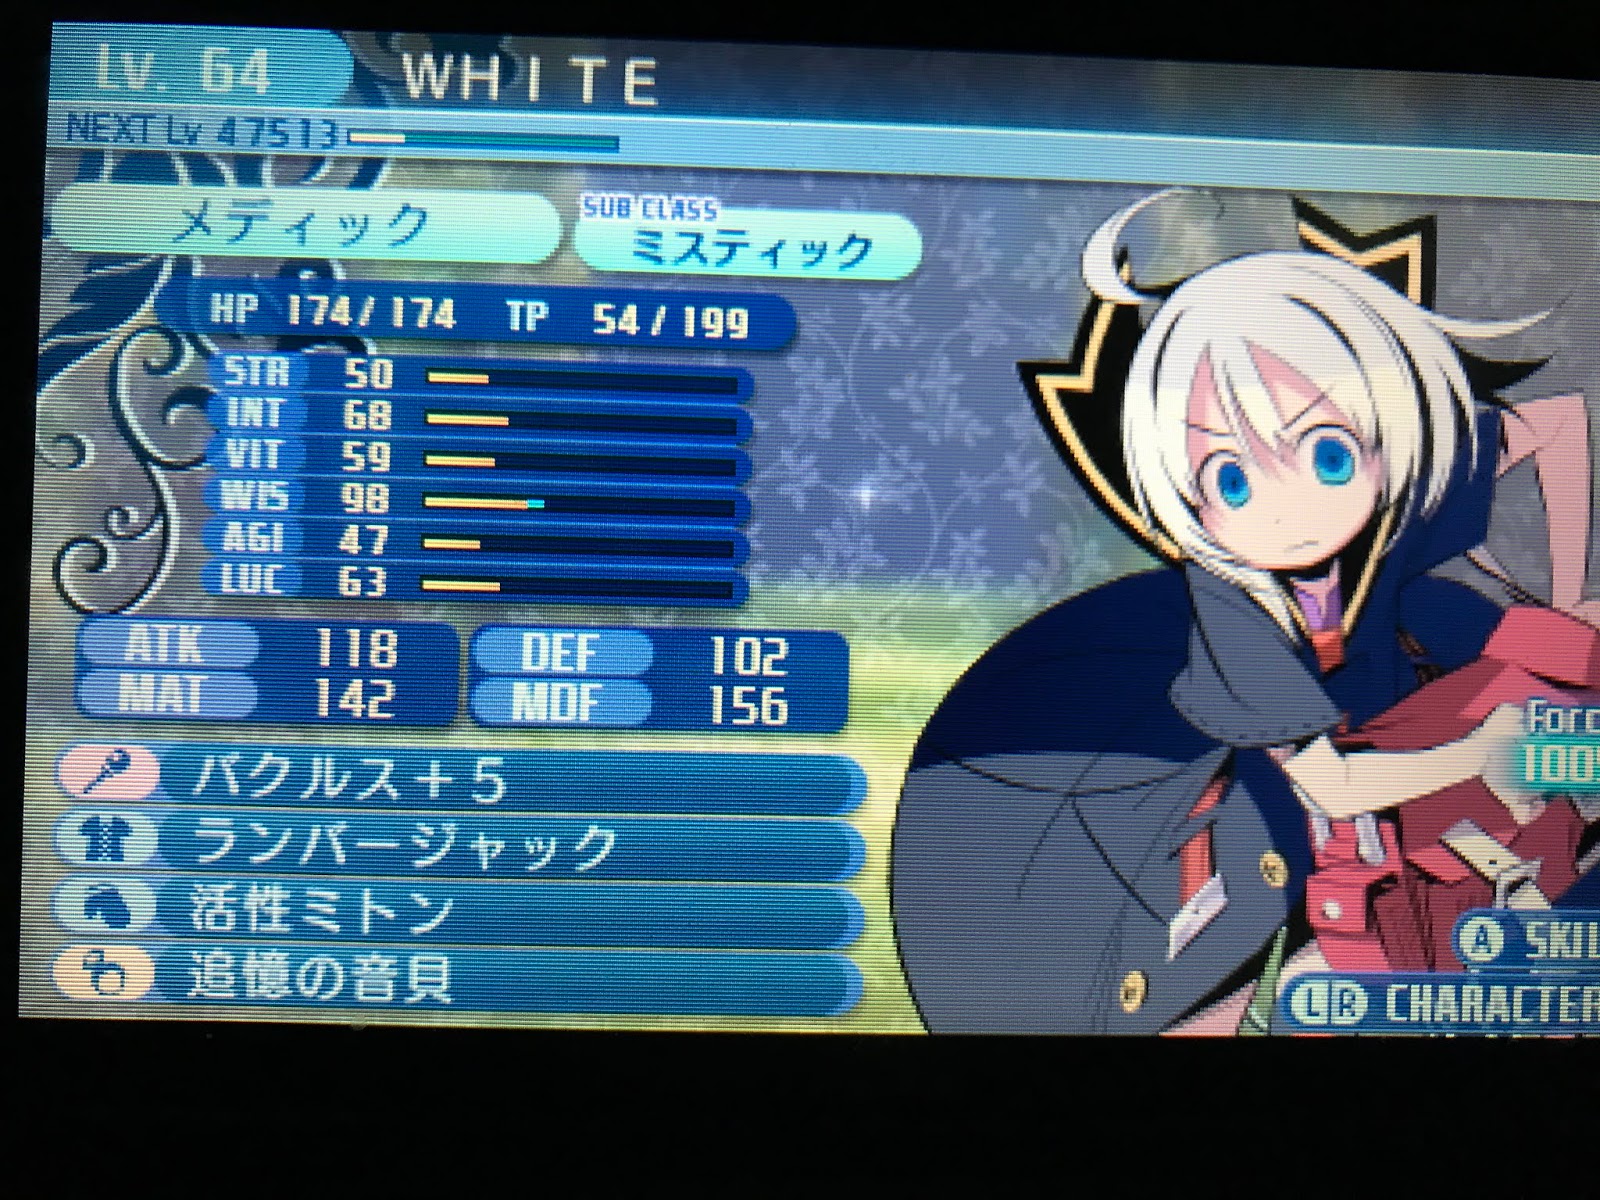
And here are my characters at the time of victory. As you can see, not much changes from last dungeon.
I did have my Ronin learn the sub-class' Shield skills for the turtle FOE, and I taught my Hero Guard Rush because the timing for its use was really obvious with the predictable 2nd boss.
Guard Rush:
Reduce damage of all attacks to your party. At the end of the turn, does Bash damage to the enemy.
Does more and more damage depending on how many times you reduced damage.
Cannot use this move for a number of turns.
(In other words, since his area-fire attack is really predictable, you can get a full 5-reduction Guard Rush easily. Did about 600 to 700 damage).


No comments:
Post a Comment